B&W Photos With a touch of color...
I participate in many online communities... ClubMom, CafeMom, MySpace, etc... and one topic seems to come up on each of them. How do people get black and white photos with one item in color??? Well, here is a short and sweet tutorial for you using Paint.NET. Here's a link to the download on MajorGeeks:
What you do is open up your image.
Go to "Layers" then "Duplicate Layer."
Then "Adjustments" to "Black and White."
Make sure you have the top layer selected (it will be if you don't click anywhere in the Layers Tool Box so you shouldn't have to worry).
You then use the eraser tool to "erase" the black and white part of the layer and reveal the color below. Zoom in to get a better view of it so you keep the edges smooth (the little magnifying glass with the plus sign next to where it says "Window" at the top).
You can also change the "eraser" size by going to "Brush Width" and moving it up or down. I use a smaller brush to edge the item I want in color. Then I use a larger one to fill in the middle... specially with large items.
Another tip... use small strokes. If you mess up you can undo what you've done by clicking the little blue arrow that points to the left. If you use small strokes, you won't lose to much when you click it. :-)
Now you're going to want to view your image at 100% to see how it looks. Make sure it is just how you want it. Did the color "pop" ok? Sometimes you have trouble with blues. Under "Adjustments" you can play around with the Hue and Saturation to make it look better. If you want to add a signature, you can click on the "A" button in the floating Tool bar. This will give you a crosshairs thingy that you can move where you want the text. You can choose the font, size, etc up top.
When you're done, go to "File" then "Save as" and type in a name... then use the drop down menu to choose jpeg (jpg) as the file extension and click "Save"... it will ask you what quality you want it to be. This is up to you... it shows the file size there and if it is too big, you can lessen the quality to make it smaller. The program will compress your image to make it the size you want.
When you click "OK" it will ask if you want it to "Flatten" the image... tell it yes.
You can do this yourself before saving by going to "Layers" then "Merge Layer Down." This is necessary because it will not save a file with active layers. If you tell it to cancel, your image will Not be saved.
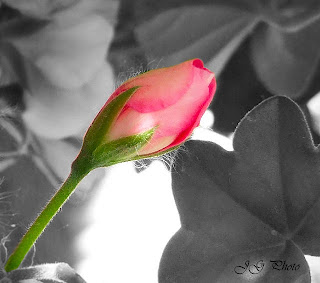
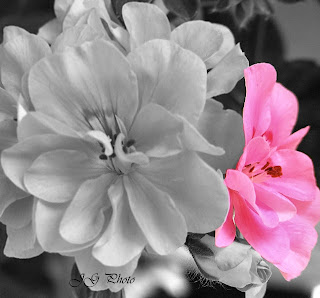
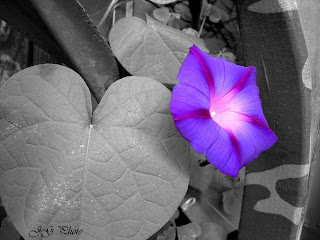
Here are a couple of images that I edited:


Good Luck and Happy Editing!!!


Comments